Firmware reverse engineering: A step-by-step guide

The internet of things (IoT) has seen a huge growth in recent years. From kitchen appliances to wristwatches to industrial sensors, the number and characteristics of these device types are vast — as are the potential associated flaws. One thing they have in common is firmware, a piece of software installed on these small devices that allows interaction between the device and its hardware.
In this article, we will be walking through the steps of how to reverse engineer firmware to find and exploit vulnerabilities. Note that the approach always depends on the kind of device, its nature and features, and so on.
Learn IoT Security
![]()
1. Getting a copy of the firmware
The first step in firmware reverse engineering is to analyze an IoT device and acquire its firmware. Some of the steps we can follow are:
- Downloading firmware from the seller's website
- Extracting firmware via man-in-the-middle forcing device update feature (use a proxy to capture full URI)
- Obtaining the firmware from the device itself; for example, from chips via SOIC (Small Outline Integrated Circuit) clips.
2. Extracting firmware
This phase of reverse engineering firmware consists of having access to the firmware files. From this point, static or dynamic analysis can be conducted. Binwalk is one of the famous tools to accomplish this task.
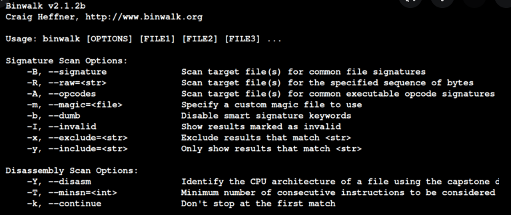
Figure 1: Binwalk tool used for firmware extraction.
By using this approach, firmware images and found kernel images can be possible depending on the nature of the device. For instance, recent firmware is encrypted, and additional steps to bypass or decrypt it are necessary to proceed with the analysis. However, this is not a point under discussion in this article.
3. Creating kernel images from scratch
Sometimes, after extracting the firmware file system, emulating it is a better way of testing all the functionalities to potentially find vulnerabilities. For this reason, buildroot is a simple, efficient, and easy-to-use tool to generate embedded Linux systems through cross-compilation.
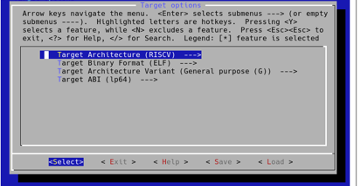
Figure 2: Buildroot tool used to create a kernel image from scratch.
Learn IoT Security
![]()
4. Emulating kernel images with QEMU
Firmware emulation is the moment of executing the firmware without the physical device, so we need to emulate it. There are some approaches, such as user emulation and full emulation.
By using QEMU, emulating a single binary from the firmware is possible by using the following commands
qemu-<arch>-static
qemu-<arch> -L <prefix> <binary>
More details about this can be found here.
On the other hand, the best approach is always full emulation, as we can take advantage of the entire firmware features.
By using buildroot to create an image from scratch, we obtained a simple script on how to execute QEMU with the target images and proper kernel and QEMU configurations. In short, to create a full VM running in QEMU, we need the following requirements:
- A QEMU disk image file
- A Linux kernel image compiled for the target architecture; and
- An initial RAM disk Image
With all the files in place, we can start a QEMU VM with the proper CPU architecture with one of the following commands:
|
|
After starting and configuring the VM, adding the right settings depending on the firmware and operating systems, we are able to run some binaries, typically the web interface.
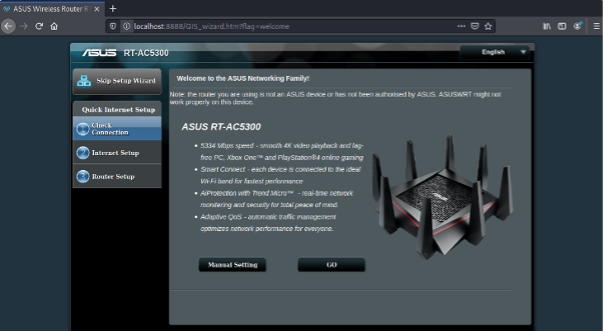
Figure 3: Full emulation of a specific router and web interface.
You can read more details here:
- MindShaRE: How to “Just Emulate It With QEMU”
- Reverse ASUS RT-AC5300 - Red Teaming and Malware Analysis
Learn IoT Security
![]()
Final thoughts
The IoT landscape is quite vast, and the number of different types of devices also makes it difficult to establish proper procedures for the exercise of reverse engineering firmware. While this article does not describe all the tools and techniques used within this context, it can provide a starting point for exploring the field.
For more on reverse engineering, check out our reverse engineering training courses.
Learn IoT Security
Build your IoT security skills and become a Certified IoT Security Practitioner. What you'll learn:- Securing IoT networks
- Software and firmware risks
- Controlling access to IoT
- Ensuring privacy
- And more
In this Series
- Firmware reverse engineering: A step-by-step guide
- The growing importance of cybersecurity in the IoT era
- Capture: Improve IoT firmware security with new firmware architecture
- Smart Toys and Their Cybersecurity Risks: Are Our Toys Becoming a Sci-Fi Nightmare? [updated 2021]
- Japan’s IoT scanning project looks for vulnerable IoT devices
- IoT security fundamentals: IoT vs OT (Operational Technology)
- IoT Security Fundamentals: Intercepting and Manipulating Wireless Communications
- IoT Security Fundamentals: Hardware, Software and Radio Security
- IoT Security Fundamentals: Detecting and Exploiting Web Application Vulnerabilities
- Keeping Alexa out of the boardroom (and the bedroom office): IoT security tips for remote employees
- Internet of Things (IoT) trends in 2019
- Can legislation save IoT security?
- An Overview of the Proposed DIGIT Act
- The IoT Security Skills Gap
- Internet of Things (IoT) Evolution: Where to From Here?
- Security Issues in Edge Computing and the IoT
- 10 Tips to Increase IoT Cameras Protection
- IoT firmware analysis -- Firmwalker
- Shodan and IoT: The Problem is here!
- The Top Ten IoT Vulnerabilities
- How IoT is Raising Cybersecurity Concerns
- The Rise of the IoT Botnet: Beyond the Mirai Bot
- Security Vulnerabilities of Internet-Connected Homes
- Security Challenges in the Internet of Things (IoT)
- Will IoT Security Awareness Protect Me From My Toaster?
- The Emergence of IoT: Is Security a Concern?
- Internet of Things: How Much are We Exposed to Cyber Threats?
- How to Test the Security of IoT Smart Devices
- Three Security Practices That IoT Will Disrupt
- Privacy Implications of the Internet of Things

Get certified and advance your career
- Exam Pass Guarantee
- Live instruction
- CompTIA, ISACA, (ISC)², Cisco, Microsoft and more!


