Cryptography Fundamentals, Part 5 – Certificate Authentication

Certificate Authentication
Here's how to verify that the certificate is from the original sender with GnuPG.
[download]Download the Cryptography Fundamentals eBook (FREE)[/download]
Learn Applied Cryptography
Authenticating an OpenPGP certificate using GnuPG
Only OpenPGP certificates can be checked by users. For X.509 certificates, CAs are necessary. To check the authenticity of an OpenPGP certificate, we will use Kleopatra.
- Click on Certificates >Certify certificates.
-
Select the certificate to verify.
-
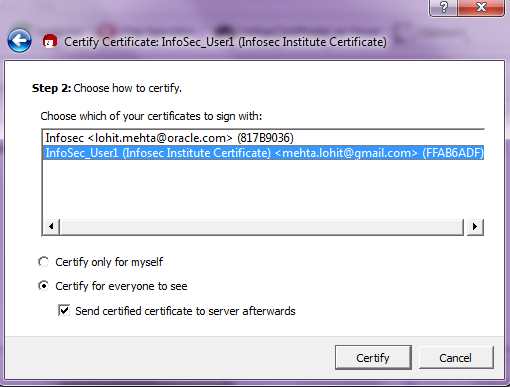
Select the certificate and decide the scope of the certificate's trust. We selected for "certify for everyone to see."

-
Click on certify to check the authenticity of the certificate.
Certificate Distribution
Distribution of certificates using GnuPG
A certificate needs to be distributed. Here's how to export the secret key and public key to ASCII format.
How to export a secret key or certificates
-
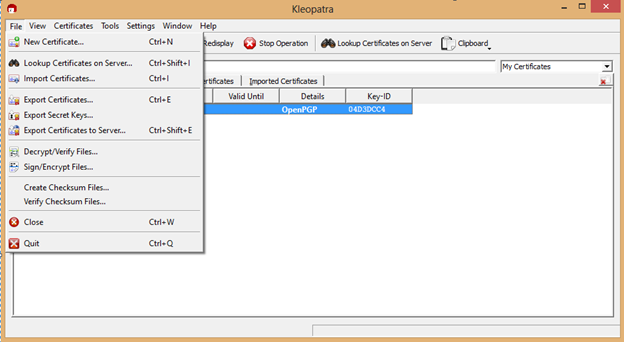
Click on the certificate to be exported.
-
Click on File > "Export Secret Keys" or "Export Certificates".
-
Choose the location where the secret keys or public key needs to be exported.
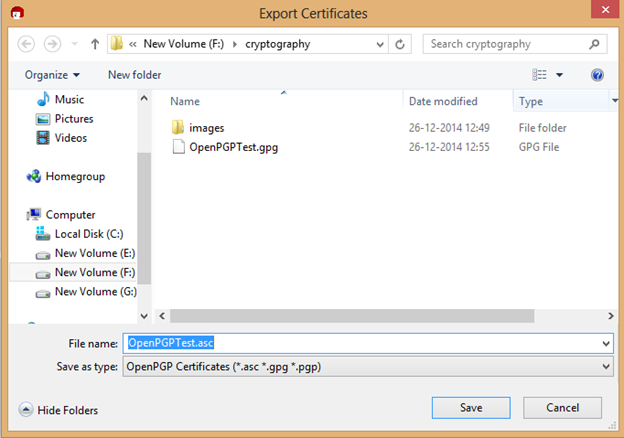
- Save the file in .asc format.
Secure Email using OpenPGP certificates.
We'll learn how we can apply encryption and decryption to a popular email service such as Gmail.
Gmail Encryption and Decryption process using GnuPG and "MyMail-Crypt"
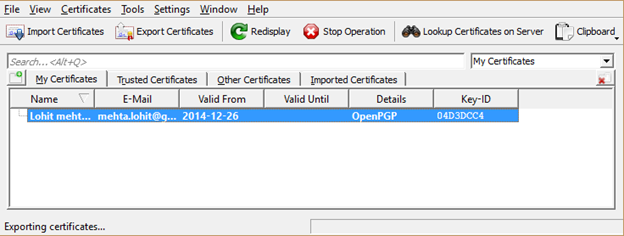
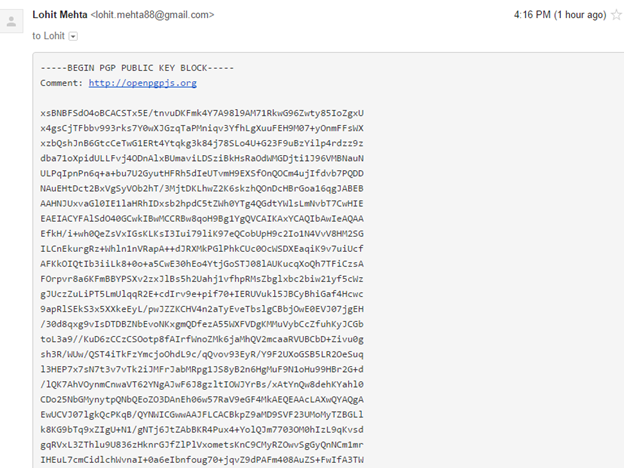
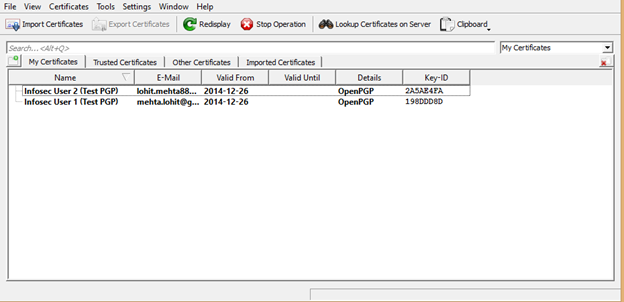
After certificates are exported, they need to be distributed to the intended recipients. Certificates are usually distributed by email or to a centralized directory service. I created two certificates in Kleopatra, and exported the secret key and public key to a folder. I have to share my public key, so we'll send the public key certificate to the intended recipient. You can see the key distribution function in Kleopatra below.
Here's how to use encryption with the Mymail-crypt Gmail plugin, using Kleopatra generated certificates. These are the labels of our two Kleopatra certificates:
- Infosec_User1(Test PGP)
- Infosec_User2(Test PGP)
After the certificates (with public keys) are distributed, we can encrypt email.
Here are the instructions for "Infosec_User2," which can be repeated for "Infosec_User1."
- Install the "mymail-crypt" extension in Chrome for Gmail.

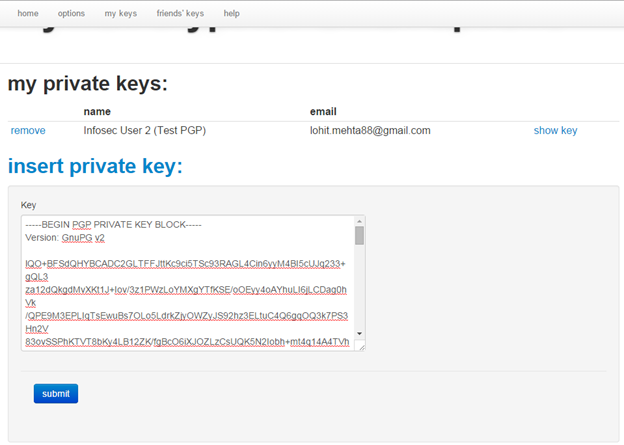
- After installation, click on "my keys" and "Insert private key".
- Paste Infosec_User2(Test PGP)'s secret key from Kleopatra. Click on submit to register the key with the extension.
- Click on "friends keys" and paste Infosec_User1 (Test PGP)'s public key.
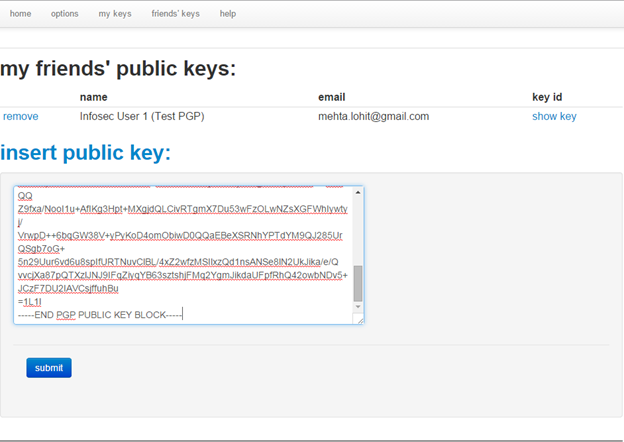
Repeat for "Infosec_User1.".
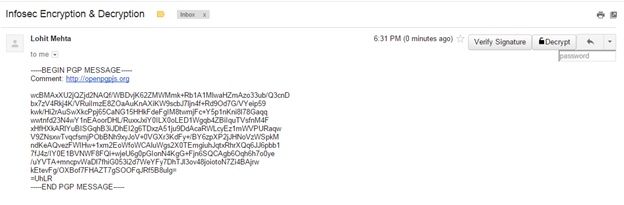
Once both key pairs are registered, we can encrypt email. Open Gmail as the sender ("Infosec_User2.")
-
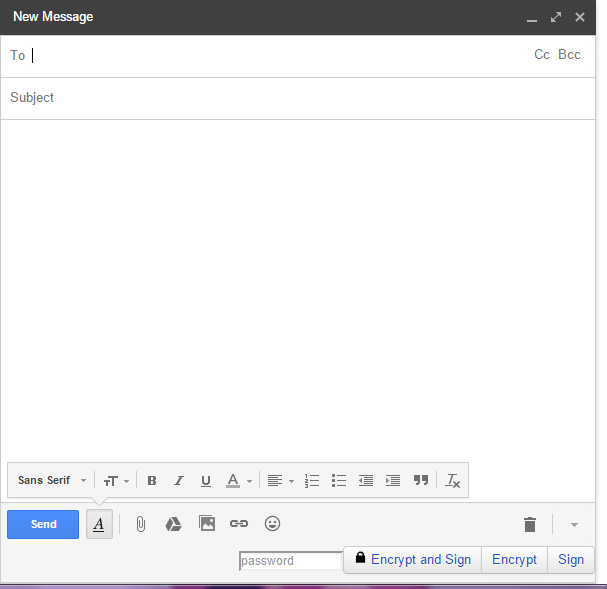
The extension you installed adds three buttons to the Gmail UI, "Encrypt and sign," "Encrypt," and "Sign."
- Enter your recipient's email address.
-
Write something in the body of your email.
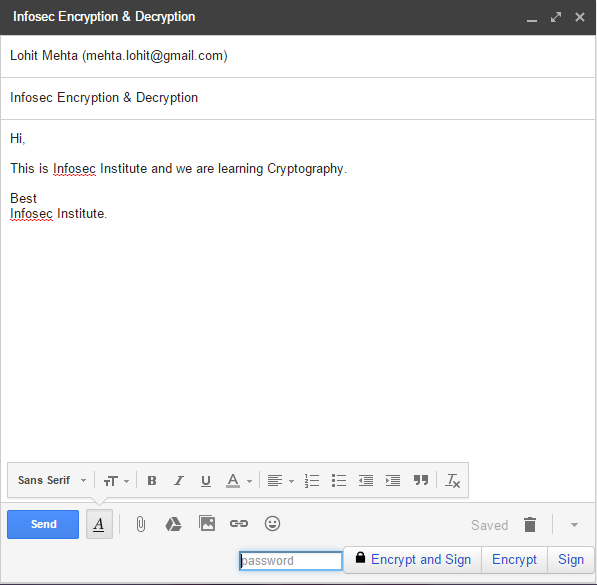
- Enter the password or passphrase you created with your secret key.
- Click on "Encrypt".
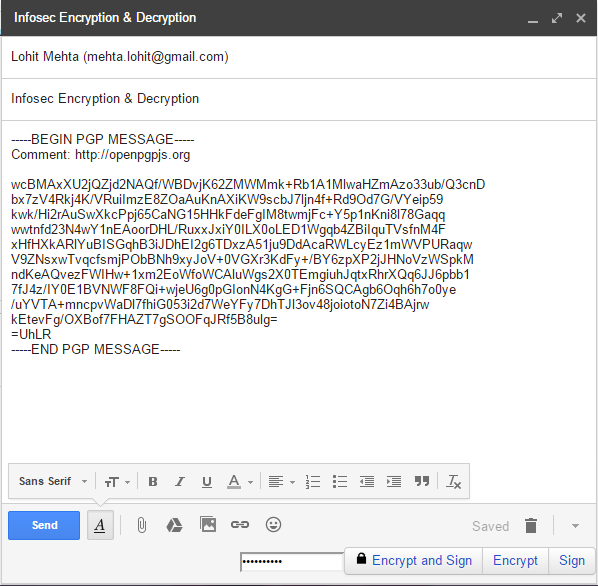
- Send the email.
On the receiver's end (Infosec_User1): - Open the email.
- The new Gmail extension adds a decrypt button to the UI.
- Enter passphrase associated with Infosec_User1's secret key for decryption.
- Click on Decrypt.
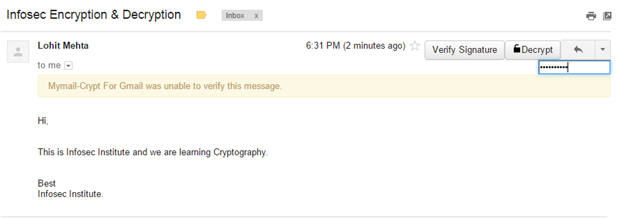
The email's decrypted!
Below, you can see what happens if you enter the wrong password.
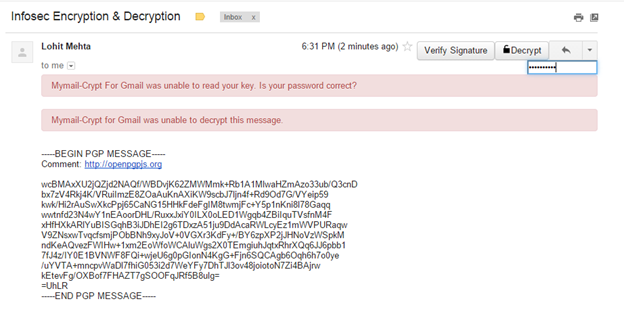
Learn Applied Cryptography
If after decryption, you still get a message that says "Sender's identity cannot be verified," that's because you've only encrypted the email, as opposed to selecting "Encrypt and Sign."
Abbreviations
- PKI: Public Key Infrastructure
- DES: Data Encryption Standard
- CBC: Cipher block chaining.
- ECB: electronic codebook
- OFB: output feedback
- CFB: cipher feedback
- PCBC: block chaining
- CTR: counter
- HMAC: Hash Message Authentication Code
Learn applied cryptography and cryptanalysis
What you'll learn:
- Cryptography fundamentals
- Public key infrastructure
- Blockchain technology
- SSL and TLS
- And more
In this Series
- Cryptography Fundamentals, Part 5 – Certificate Authentication
- How does hashing work: Examples and video walkthrough
- How does encryption work? Examples and video walkthrough
- Planning for post-quantum cryptography: Impact, challenges and next steps
- Beginner’s guide to the basics of data encryption
- Structures of cryptography
- Role of digital signatures in asymmetric cryptography
- What is homomorphic encryption?
- Encryption and etcd: The key to securing Kubernetes
- Quantum cyberattacks: Preparing your organization for the unknown
- An Introduction to asymmetric vs symmetric cryptography
- Breaking misused stream ciphers
- Entropy calculations
- Blockchain and asymmetric cryptography
- Security of the PKI ecosystem
- Elliptic curve cryptography
- Methods for attacking full disk encryption
- Introduction to Public Key Infrastructure (PKI)
- Introduction to the TLS/SSL cryptography protocol
- Introduction to Diffie-Hellman Key Exchange
- Introduction to the Rivest-Shamir-Adleman (RSA) encryption algorithm
- Introduction to full disk encryption
- 8 reasons you may not want to use VPNs
- Rivest Cipher 4 (RC4)
- Understanding stream ciphers in cryptography
- Cryptography Errors
- Understanding block ciphers in cryptography
- How to mitigate Credential Management Vulnerabilities
- How To Exploit Credential Management Vulnerabilities
- Poor Credential Management
- How Is Cryptography Used In Applications?
- Decrypting Downloaded Files
- Introduction to hash functions
- Introduction to Asymmetric Cryptography
- The Advanced Encryption Standard (AES)
- Fundamentals of symmetric and asymmetric cryptography
- Case Studies in Poor Password Management
- The ultimate guide to encryption key management
- Principles of cryptography
- Encryption vs Encoding
- Introduction to Cryptanalysis
- Secure Credential Management
- Introduction to Blockchain
- Blockchain Technology
- Virtual Private Networks (VPNs)
- Public Key Infrastructure: Architecture & Security
- Hash Functions
- Asymmetric Cryptography
- Fundamentals of Cryptography
- Symmetric Cryptography
- Introduction to cryptography

Get certified and advance your career
- Exam Pass Guarantee
- Live instruction
- CompTIA, ISACA, (ISC)², Cisco, Microsoft and more!

