Creating Effective Phishing Landing Pages

When using the PhishSIM to test employees (referred to as learners), just as important as creating the phishing email is creating an associated landing page. This landing page is what learners see if they click on the link in the email or fill out the data entry form and is intended to be both a “gotcha” as well as an incentive for them to learn more.
Using Custom Branding
PhishSIM allows you to completely customize the landing page experience with your own logo or branding. This is a good idea since it will immediately alert the learner that the page is work-related. To change the branding, visit the Account Options page located in the pulldown menu on the right under your user name.
Phishing simulations & training
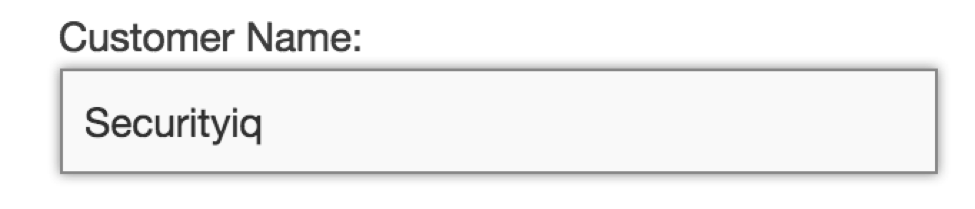
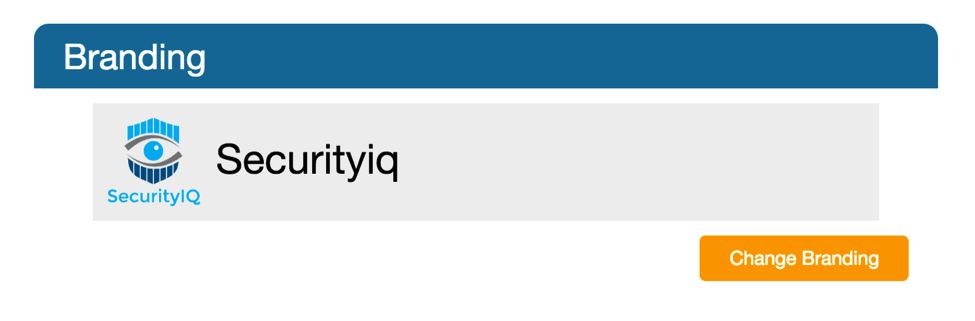
There you will see the option to Change Branding on the right, as well as changing your customer id on the left. The default of both of these is Securityiq. First, put your company name on the left.
Then, click the orange button, select Use Custom Logo, and upload your file. Tip: logo should be square and is best if it’s [size information].
You can also select a different background color from the pulldown menu to one that more closely aligns with your brand. Next, preview what your branding looks like on Landing Pages, Notification Emails, and Learning Modules by clicking the appropriate orange button.
Locating the Landing Page
The Landing Pages are referred to as Educations, and are located in the PhishSIM menu under Education.
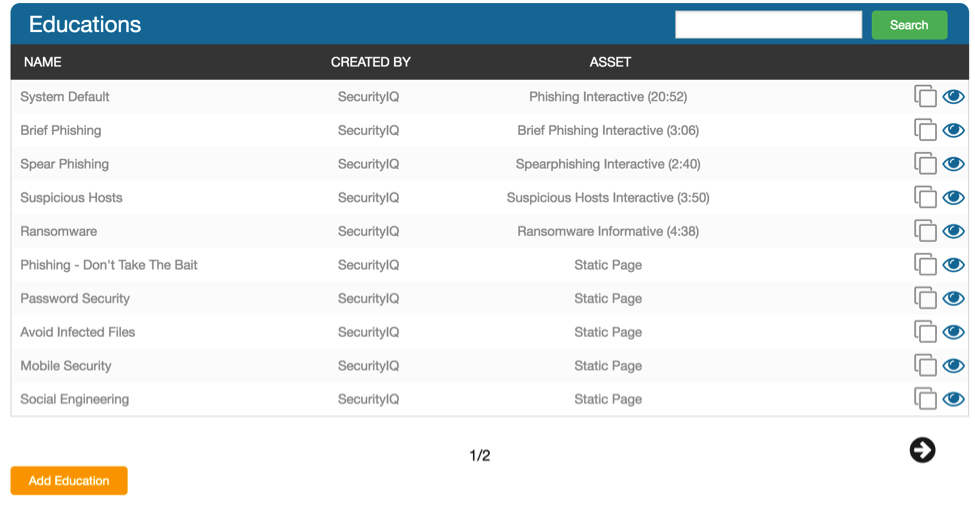
You can click on the eye icon to view a Landing Page or the paper icon to duplicate it and customize. While there are quite a few to choose from, including the System Default which has a 20 minute video embedded, some campaigns are more effective if the message is more personal and built from scratch. To do this, simply click the orange “Add Education” button at the bottom left of the screen.
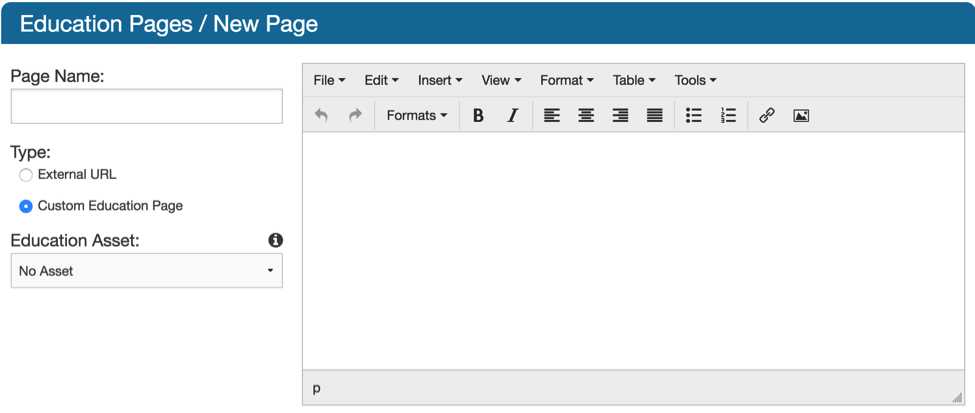
This will take you to a screen that looks familiar to anyone that’s used any kind of word processor and is just as easy to use.
What the Message Should Say
This is where the delicate balance comes in. You want to make sure they know they’ve done something wrong immediately BUT you don’t want them to click the browser window closed without fully understanding what happened. You also want them to take the quiz in the Education Asset that you attach to the page and what will be happening next in terms of further training and testing.
A good idea is to put ATTENTION or IMPORTANT - avoid using WARNING or DANGER as it may cause a knee-jerk reaction to close the browser without viewing.
In fact - the next line could possibly be “Do Not Close Your Browser” (as in the System Default).
Another very important element is to tell them that while they’ve technically been phished, their computer is still safe.
Other Elements to Add
This is what we call a “teaching moment,” and an opportunity for them to improve their diligence against phishing or hacks. You may want to use this space to explain what “phishing” is (or whatever attack you have simulated) and choose an appropriate interactive lesson, called an Education Asset.
The available Education Assets are listed in a pull down menu on the left.
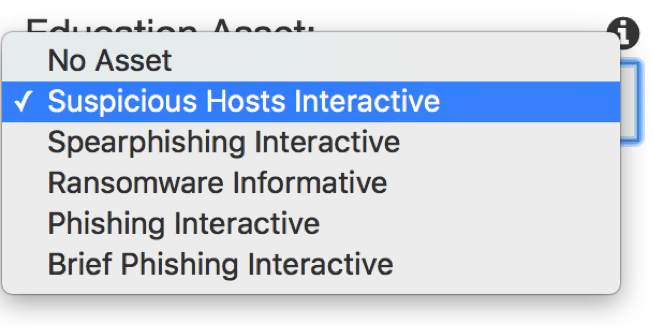
To insert, select the Asset of choice and on the page type {{education_asset}}. When the learner visits the page, it is automagically embedded!
Using Variables
Which brings us to the next important element in creating effective phishing landing pages: using variables to further customize the experience. There are 8 different variables, which are listed here. But essentially the ones that are going to get your employee’s attention are the variables that include their name. They are {{learner}}, {{learner_first}}, and {{learner_last}}, which put their full name, first name, or last name on the page, respectively.
Tip: You can control the size and alignment just like any other snippet of text. For a bigger impact, consider putting it in bold and/or Heading 1.
Messaging at the Bottom of the Page
Below the video, you will want to let your learners know that this is the beginning of a series of test phishing emails that will be randomly sent to their inbox. Remind them that phishing emails should always be deleted or forwarded to IT. Also, include language that tells them future test phishing emails will have a small “Report Phishing” link at the bottom that they can click to show they’ve passed the test. Again, use {{learner}} variables to customize the experience.
Get six free posters
Reinforce cybersecurity best practices with six eye-catching posters found in our free poster kit from our award-winning series, Work Bytes.
Concluding Thoughts
The PhishSIM is a highly customizable application that is designed to make employees aware of the dangers lurking in their inbox. Customizing the experience with your branding, their name, and an informative message will go a long way towards their compliance and your security.
In this Series
- Creating Effective Phishing Landing Pages
- Keeping your inbox safe: How to prevent business email compromise
- The best 9 phishing simulators for employee security awareness training (2023)
- How to set up a phishing attack with the Social-Engineer Toolkit
- Extortion: How attackers double down on threats
- How Zoom is being exploited for phishing attacks
- 11 phishing email subject lines your employees need to recognize [Updated 2022]
- Consent phishing: How attackers abuse OAuth 2.0 permissions to dupe users
- The state of BEC in 2021 (and beyond)
- Why employees keep falling for phishing (and the science to help them)
- Phishing attacks doubled last year, according to Anti-Phishing Working Group
- The Phish Scale: How NIST is quantifying employee phishing risk
- 6 most sophisticated phishing attacks of 2020
- JavaScript obfuscator: Overview and technical overview
- Malicious Excel attachments bypass security controls using .NET library
- Phishing with Google Forms, Firebase and Docs: Detection and prevention
- Phishing domain lawsuits and the Computer Fraud and Abuse Act
- Phishing: Reputational damages
- Spearphishing meets vishing: New multi-step attack targets corporate VPNs
- Phishing attack timeline: 21 hours from target to detection
- Overview of phishing techniques: Brand impersonation
- BEC attacks: A business risk your insurance company is unlikely to cover
- Cybercrime at scale: Dissecting a dark web phishing kit
- Lockphish phishing attack: Capturing android PINs & iPhone passcodes over https
- 4 types of phishing domains you should blacklist right now
- Email attack trend predictions for 2020
- 4 tips for phishing field employees [Updated 2020]
- How to scan email headers for phishing and malicious content
- Should you phish-test your remote workforce?
- Overview of phishing techniques: Fake invoice/bills
- Phishing simulations in 5 easy steps — Free phishing training kit
- Overview of phishing techniques: Urgent/limited supplies
- Overview of phishing techniques: Compromised account
- Phishing techniques: Contest winner scam
- Phishing techniques: Expired password/account
- Overview of Phishing Techniques: Fake Websites
- Overview of phishing techniques: Order/delivery notifications
- Phishing technique: Message from a friend/relative
- [Updated] Top 9 coronavirus phishing scams making the rounds
- Phishing technique: Message from the boss
- Cyber Work podcast: Email attack trend predictions for 2020
- Phishing techniques: Clone phishing
- Phishing attachment hides malicious macros from security tools
- Phishing techniques: Asking for sensitive information via email
- PayPal credential phishing with an even bigger hook
- Your 2020 tax scam training guide
- Abusing email rules
- 8 phishing simulation tips to promote more secure behavior
- Top types of Business Email Compromise [BEC]
- Be aware of these 20 new phishing techniques
- Phishing in academic environments
- Reduce security events
- Reinforce cyber secure behaviors
- Strengthen cybersecurity culture at your organization


